> For the complete documentation index, see [llms.txt](https://help.prequilt.com/llms.txt). Markdown versions of documentation pages are available by appending `.md` to page URLs; this page is available as [Markdown](https://help.prequilt.com/fixes-faqs/block-editor-buttons/scale-to-fit.md).
# Scale to Fit
Find it on the Block Editor's central control bar.
### About the Button
The '**Scale to Fit**' button is a great for quickly:
* Resizing a patchwork piece to the fit into the block
* Reshaping a patchwork shape to fit the block
* Ensuring the pieces fit together without any warping of the shape
### How to Use the Button
Open the [*Block Editor*](/welcome-to-prequilt/about-this-help-guide/glossary.md#block-editor) by either editing an existing block or creating a new block by clicking on 'Make Custom Block'.
1. Change the finished block measurements to your block's dimensions:
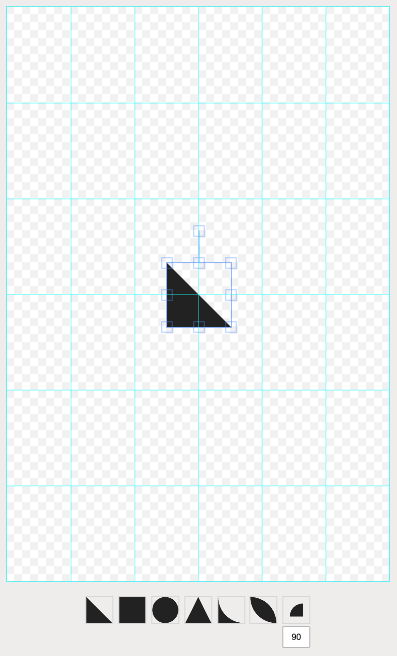
2. Click on the shape that you're using. It will appear inside the block grid.
3. Click on the '**Scale to Fit**' button. The shape will expand to fit snuggly inside the block size.
4. Once finished with your block, **save** your block!