# Circles

<figure><img src="/files/AcHo9HIkvO8166lFSHsV" alt="" width="375"><figcaption><p>Circle Block Unit</p></figcaption></figure>

## <mark style="color:blue;">Circle Block Unit in PreQuilt</mark>

**Circles** are another of the easiest block units in PreQuilt.&#x20;

And since the idea behind this series is to build a block unit (not an entire block that is just a circle), I'm going to create a 12" finished block that has a few circle block units.

&#x20; &#x20;

***

### YouTube Video

*Coming soon...*

***

### Help Guide

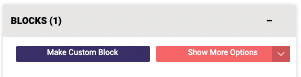
1. Click on the <mark style="color:blue;">**BLOCKS tab**</mark> on the left side control panel.

   <div align="left"><figure><img src="/files/68Sy8IGIv0pf3slIgZAs" alt=""><figcaption></figcaption></figure></div>
2. Click on the <mark style="color:blue;">**Make Custom Block**</mark> button.

   <div align="left"><figure><img src="/files/m996ukpqAnSaJrChXBS5" alt=""><figcaption></figcaption></figure></div>
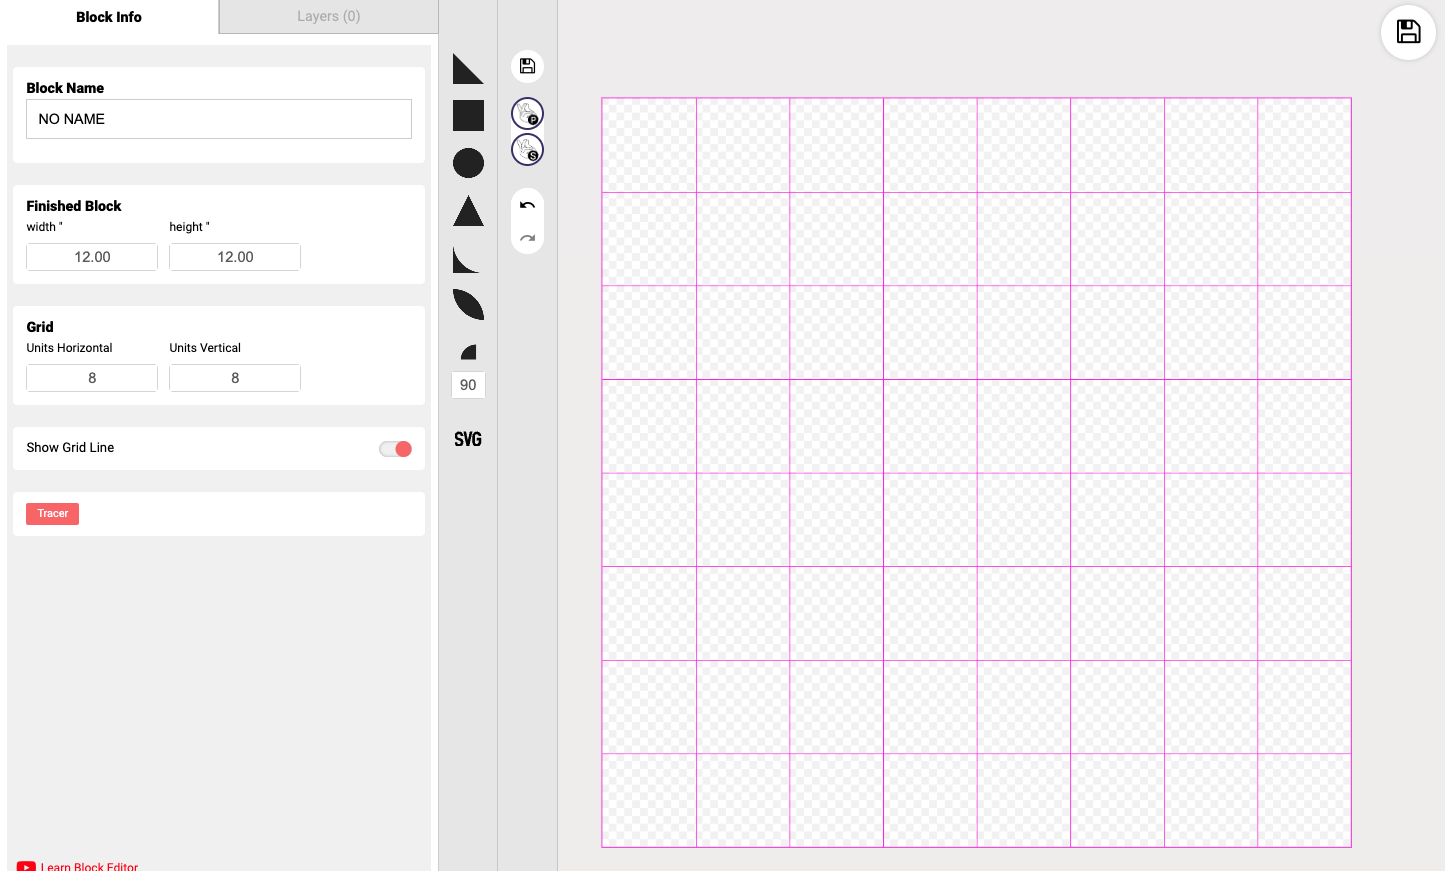
3. The **Block Editor panel** will slide out and overtake your screen. My block is set to 12" x 12" finished, but it doesn't matter, the next steps will work for all sized blocks.
4. Set your grid guidelines by changing the number for the horizontal and vertical units.

   * I'll set my gridlines to 8 horizontal and 8 vertical units. I want to be able to center my circles into their respective squares.

   <div align="left"><figure><img src="/files/aZ84G58Ueplhk2D1r3d1" alt=""><figcaption></figcaption></figure></div>

   <figure><img src="/files/hEpOGl7dUXEu3tynGOmz" alt=""><figcaption></figcaption></figure>
5. Click on the <mark style="color:blue;">**square shape**</mark> (<img src="/files/hy2ZsHmPdS74SBFprTv2" alt="" data-size="line">) from the central control panel. It will be our background fabric behind the circle.

   <figure><img src="/files/cx7GVqU2anRQGcoREEK1" alt=""><figcaption></figcaption></figure>
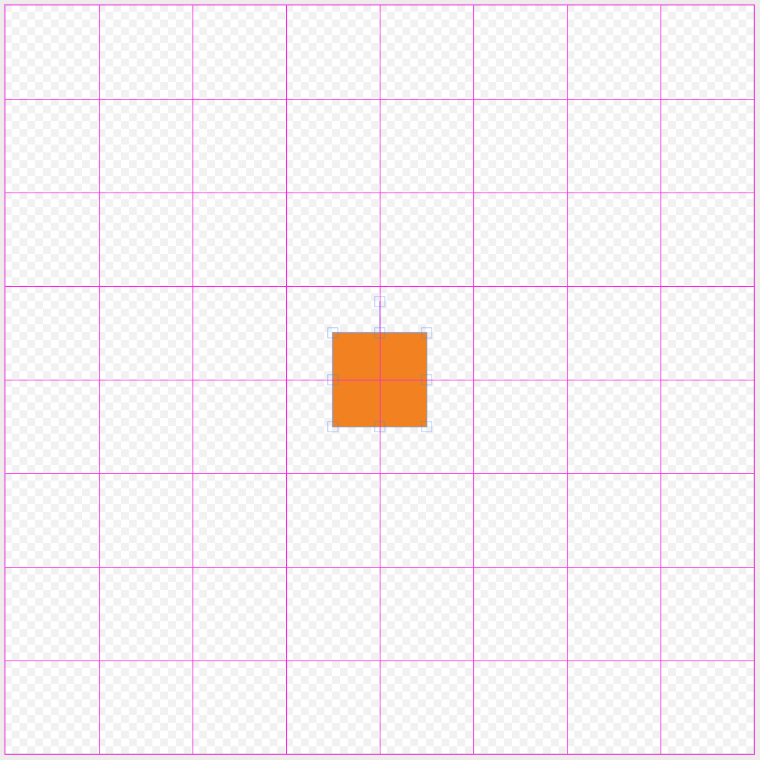
6. <mark style="color:blue;">**Move**</mark> the new square block unit so it is in the top left corner of the quilt block.

   <div><figure><img src="/files/wvlrqvRt0ftWRFuoxusA" alt=""><figcaption></figcaption></figure> <figure><img src="/files/CtiaQk2uY5iwVIMqEp39" alt=""><figcaption></figcaption></figure></div>
7. To manipulate the square to enlarge it, <mark style="color:blue;">**grab**</mark> the square on one of the corners of the square and <mark style="color:blue;">**drag**</mark> it until the square fills the height and width of 4 grid spaces.&#x20;

   * Note: If the snap to grid is turned on (default) then the shape will automatically fill the grid space.

   <div><figure><img src="/files/FPU88afdfx0gg8zGYTk0" alt=""><figcaption></figcaption></figure> <figure><img src="/files/wKLw9lrob5sthLOmuy7m" alt=""><figcaption></figcaption></figure></div>
8. Click on the <mark style="color:blue;">**circle shape**</mark> (<img src="/files/wq12gRDNrDmBGXk7t9Pf" alt="" data-size="line">) from the central control panel.&#x20;

   <figure><img src="/files/8Yi5PYFbVlruF2YCnx1J" alt=""><figcaption></figcaption></figure>
9. Click on the <mark style="color:blue;">**Link button**</mark> for a different fabric link (so that there are now 2 different fabrics being used). In this example, I am using Fabric Link B.

   <figure><img src="/files/Yq5AiR454wFLe7EgIC1D" alt=""><figcaption><p>Circle now using Fabric Link B</p></figcaption></figure>
10. <mark style="color:blue;">**Move**</mark> the circle piece into one of the middle grid spaces in the center of the square.

    <div><figure><img src="/files/sMJB3FPgjLPEEdO90CGh" alt=""><figcaption></figcaption></figure> <figure><img src="/files/HYnQgTdMZ9i8OyelqkWt" alt=""><figcaption></figcaption></figure></div>
11. &#x20;To manipulate the circle to enlarge it, <mark style="color:blue;">**grab**</mark> the square on one of the corners of the circle's bounding box and <mark style="color:blue;">**drag**</mark> it until the circle fills the height and width of 2 grid spaces.

    <div><figure><img src="/files/4kPCQBYR4Q7KGZQuvXQS" alt=""><figcaption></figcaption></figure> <figure><img src="/files/GcKZ9rt02jn1y96i79N4" alt=""><figcaption><p>1 x Circle block unit with background</p></figcaption></figure></div>
12. <mark style="color:blue;">**Clone**</mark> and <mark style="color:blue;">**move**</mark> 3 more circle block units to complete the quilt block. If you'd like, you can add and use additional Fabric Links.

    <div align="left"><figure><img src="/files/W9rPeV8eDZeHbCHwr1he" alt="" width="375"><figcaption><p>Quilt block with 4 x circle block units</p></figcaption></figure></div>

&#x20;     &#x20;


---

# Agent Instructions: Querying This Documentation

If you need additional information that is not directly available in this page, you can query the documentation dynamically by asking a question.

Perform an HTTP GET request on the current page URL with the `ask` query parameter:

```
GET https://help.prequilt.com/prequilt-101/build-a-block-unit-for-the-fabric-calculator/curved-units/circles.md?ask=<question>
```

The question should be specific, self-contained, and written in natural language.
The response will contain a direct answer to the question and relevant excerpts and sources from the documentation.

Use this mechanism when the answer is not explicitly present in the current page, you need clarification or additional context, or you want to retrieve related documentation sections.